Sunday, 18 March 2012

Vanil-la-la Fudge

Um, I have no idea why I had a sudden urge to title the post in the manner that I did. Really, I don't. The only thing I can possibly attribute it to is the glass of wine I had with dinner, or possibly extended exposure to the kitchen, and I think it might be the latter. You see, I was in the kitchen from 12pm until 6.40pm today, and I was in heaven. It was BLISS.


Fudge has been on the agenda since I my cheap-ass food thermometer arrived. As a student I'm reheating a lot of stuff and after one too many cases of Delhi belly - in Oxford, admittedly - I decided that a food thermometer wouldn't be a bad idea, just to check everything was heated through. But it was mainly about the fudge making possibilities it opened up.


Today, me and my brother had finished doing a mahusive pile of washing up, and turned our attention to fudge recipes, and promptly realised that most recipes seem to call for either a) condensed milk OR b) double cream. We had neither. It was a Sunday afternoon. We would not be getting any.


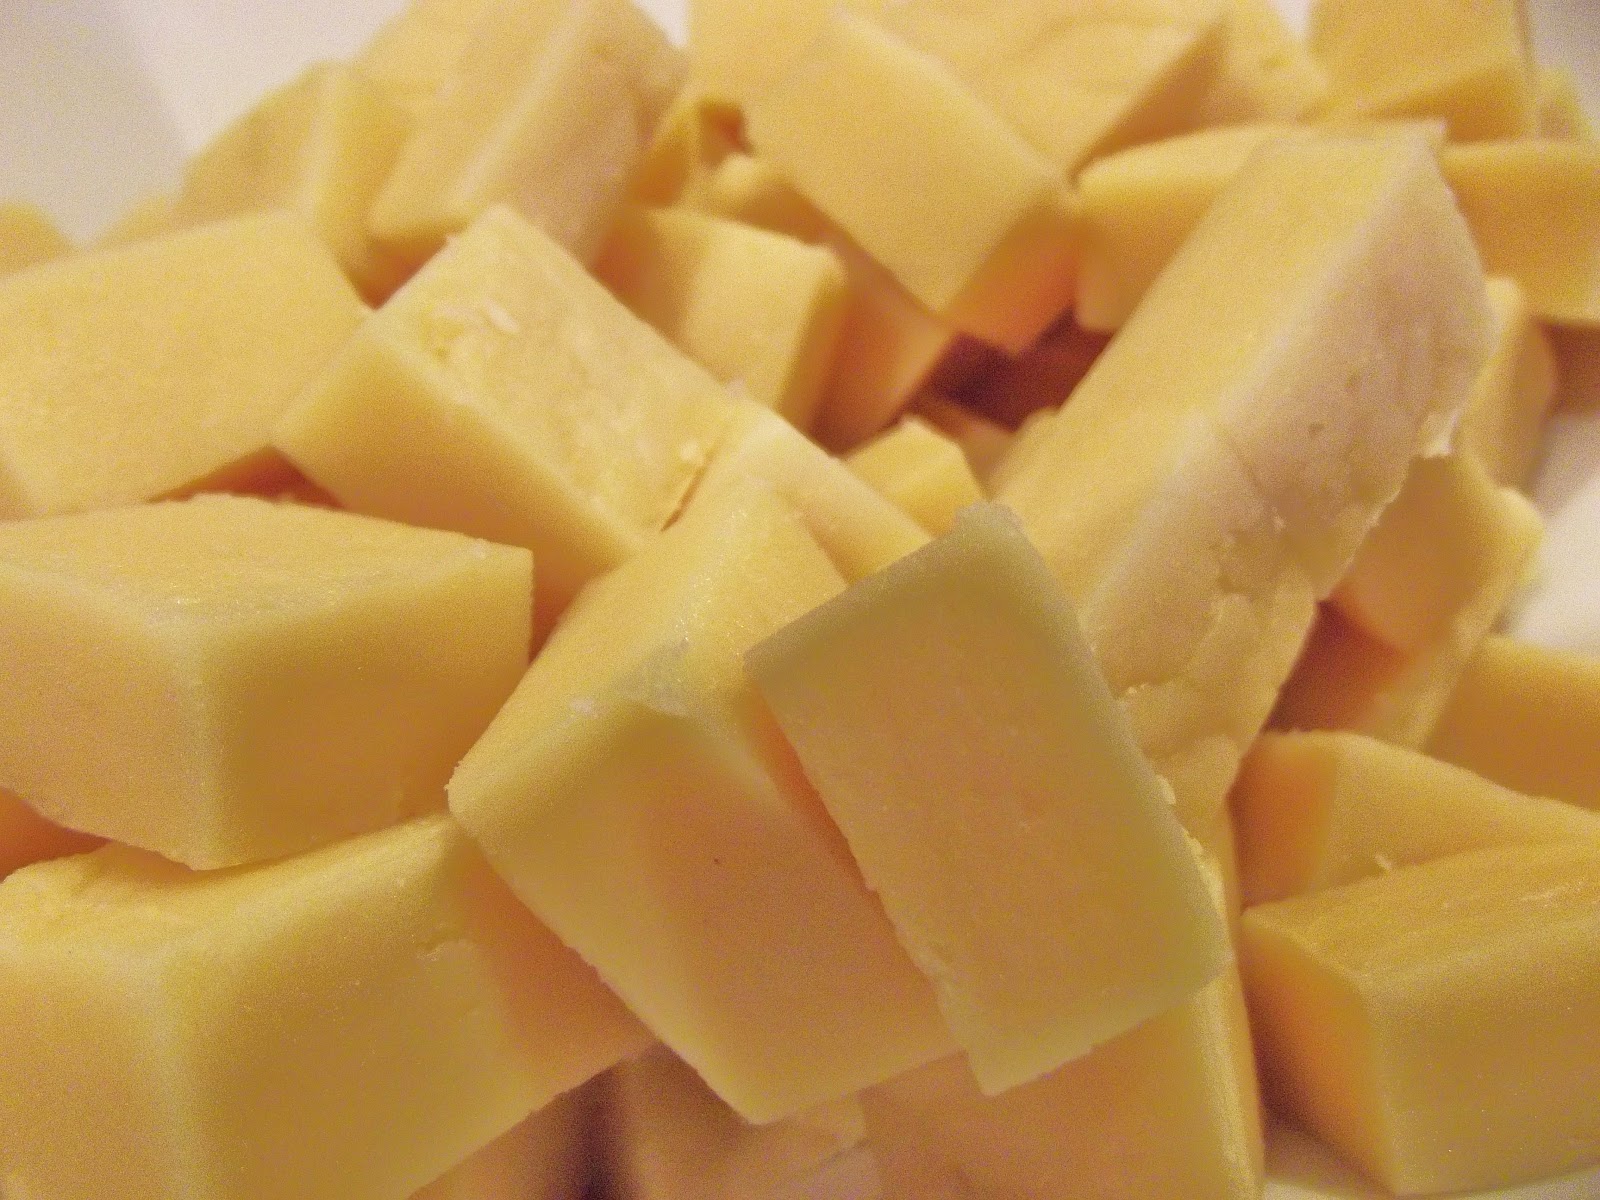
So, despite its decidedly mediocre reviews, we ended up settling on this Vanilla fudge recipe, as it only called for milk, and it's not half bad. I've hidden it in a cupboard now because everyone had eaten five pieces before I was on to my second! Slightly bizzarely, it tasted very much of shortbread...


Texture-wise, it came out really crumbly and sandy, and my brother proclaimed that this was how fudge was meant to be. I defer to him because he's definitely the fudge expert of the family. He was an absolute star, actually doing much of the stirring, the cutting, and giving me tips on how to get it nice and flat and smooth. Team effort... maybe too many cooks spoil the broth, but two cooks certainly don't spoil the fudge - it's awesome to have someone to split the stirring duties with when it takes over half an hour!

Next on the agenda is a fudge recipe with either condensed milk or cream (i.e. a fudge recipe for a day when we have planned more than five seconds in advance) and probably one using some strawberry flavouring. I hadn't even realised it existed until the other day when I saw some in my boyfriend's Mum's cupboard, and now I can't wait to get some! Strawberries and cream, here we come... I think the few sunny days we had this week may have made me overly optimistic about the whole 'summer is on its way!' thing. Calm down, dear, it's not even quite spring yet...

Vanilla Fudge
This is the recipe from the Good Food channel, by James Martin. I thought I'd pop it up here for easy reference and also so you can have a look at our method photos (the fun of cooking in pairs!)


300 ml milk
350 g caster sugar
100 g unsalted butter
1 tsp vanilla extract

1. Grease an 18cm square cake tin. Well, that's what's recommended. We had to use a 19cm square because it was the smallest we had, and it was a little bit thin, if I'm honest. Very good for tiny bite sized chunks, but you tend to eat more of them that way! Also, we decided that it would be far easier to get it out if we just lined it with an oversized bit of greaseproof paper and pulled it out when set, and it worked perfectly.


2. Put the milk, sugar and butter in a heavy-based saucepan. Heat slowly, stirring all the time, until the sugar has dissolved and the butter melted.


3. Bring to the boil and boil for 15-20 minutes, stirring all the time. It took us closer to 20 minutes, if not slightly more, though because it started to burn we were using a heat setting of 4 out of a possible 5 on our electric hob.


4. When the mixture reaches the soft-ball stage (115°C on a sugar thermometer), remove from the heat and stir in the vanilla extract. Leave to cool for 5 minutes.

5. Beat the mixture with a spoon for a few minutes until it starts to thicken and the gloss disappears.

6. Pour into the prepared tin and leave to set at room temperature (do not put it in the fridge).


7. Once set, cut the fudge into small squares and store in a sealed container.

Wednesday, 14 March 2012

The "What do you do with a Pack of Soft, Ancient Ginger Nuts and a Glut of Filling for Cheesecake?" Cheesecake

I think you do this with it.


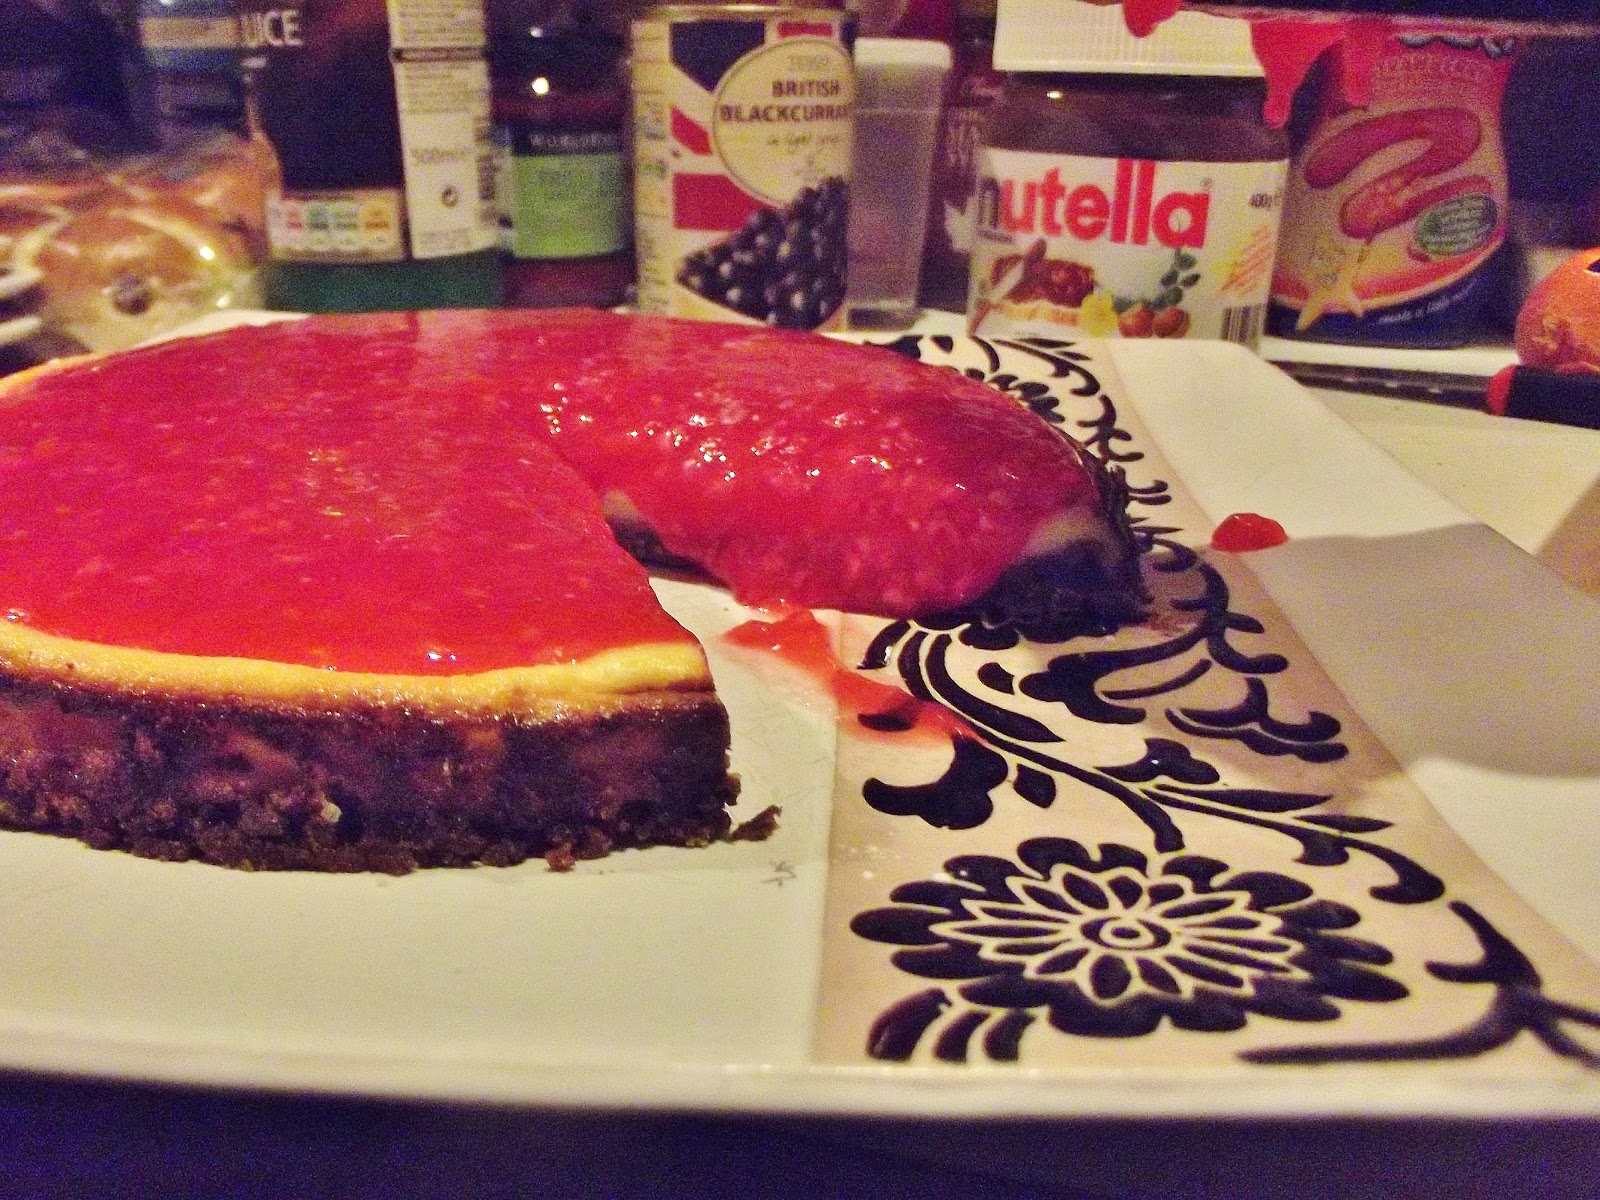
MINI CHEESECAKE!


Well, actually it's not that mini, it was a perfectly acceptable size for any shop bought cheesecake, tasted infinitely better than one, and improved with age (according to my parents and brother who got left with it while me and my boyfriend gallavanted off with the full-sized cheesecake... don't worry, they're getting some of that tonight!)

It even had real, fresh fruit on top. So fresh that there was still a live insect in it. He's now living happily in our garden.


Quite bizzarely, this one actually rose an awful lot better than the main one, and as I'd learned to watch for the top-browning, seemed to cook better too, being rather more solid when it came out (though eventually, despite initially panicking that I'd taken the main event out too early and it would be too wobbly, it firmed up and the texture was almost the most complimented thing).

 It did brown around the edges a lot more than we were expecting though...

So we took a bite each to check it tasted fine. It did. We covered our tracks with dayglo raspberry gloop.


The recipe is the same one used here, which originally comes from Smitten Kitchen... and the lesson I learned is that if the topping (or, in this case, a sort of sauce) recipe you are following is for cherries, think carefully about the kind of fruit you are substituting. Raspberries have a rather different... er... skin. And a tendency to completely dissolve when any heat is applied.

But it tasted good.


Much cheesecake was eaten by all this weekend.

Blackcurrant Waffles - and the best waffle recipe so far!

The quest for waffles is never ending. However, the quest for the best recipe may be over (at least for us). This may now be our favourite, and this is probably my second favourite filling/topping combo, after chocolate sauce with chopped hazelnuts. For me, this even tops the classic maple syrup and (ice) cream...

We had a lot of blackcurrants left after our cheesecake exploits, basically. They're a good source of Vitamin C. Sadly fresh ones are more difficult to source... curse you, Ribena, and your use of 95% of the crop!

But tinned ones are relatively cheap (89p a can as of writing, at Tesco) and work very well!


The Best Waffle Recipe (So far...) - Plain Version


These rise like billy-o and taste good to boot! The recipe comes from an ancient and very well used cookbook owned by my boyfriend's Mum. It's the only one we've tried using self-raising flour but it rises the best out of all the ones we've done, even better than the one using 4 whole teaspoons of baking powder!


2 eggs
2 teaspoons sugar (we used 3 tablespoons, naughty us!)
175ml milk
75-150ml water
1 teaspoon vanilla
225g self raising flour
Pinch of salt
2 tablespoons cornflour
125g melted butter

A NOTE ON THE WATER: The first time we think we may have accidentally left the water out, and we really liked the batter. We now use half the amount of water (75ml), which gives a great consistency, but sadly tends to result in 3.5 waffles rather than 4. We've decided it's worth it... quality over quanitity. 

1. Beat egg yolks and sugar together, then beat in milk, water and vanilla
2. Gradually sift in flour, cornflour and salt, beating constantly then beat in melted butter
3. Beat egg whites and fold in (gently, people, gently!)
4. Set aside for 10 mins
5. EAT!
6. WELL... COOK THEN EAT!

(The last 2 are the most important. Possibly just the last one. Thank you boyfriend. I'm sorry I keep sharing your involvement today...)


Blackcurrant waffles

The recipe is exactly the same as above, but after pouring the waffle batter into the machine, dot as many blackcurrants as you fancy into it, then shut the lid. Cook as normal, then top with more blackcurrants and some of the blackcurrant juice, mixed with a little sugar if you wish. Best served with ice cream.

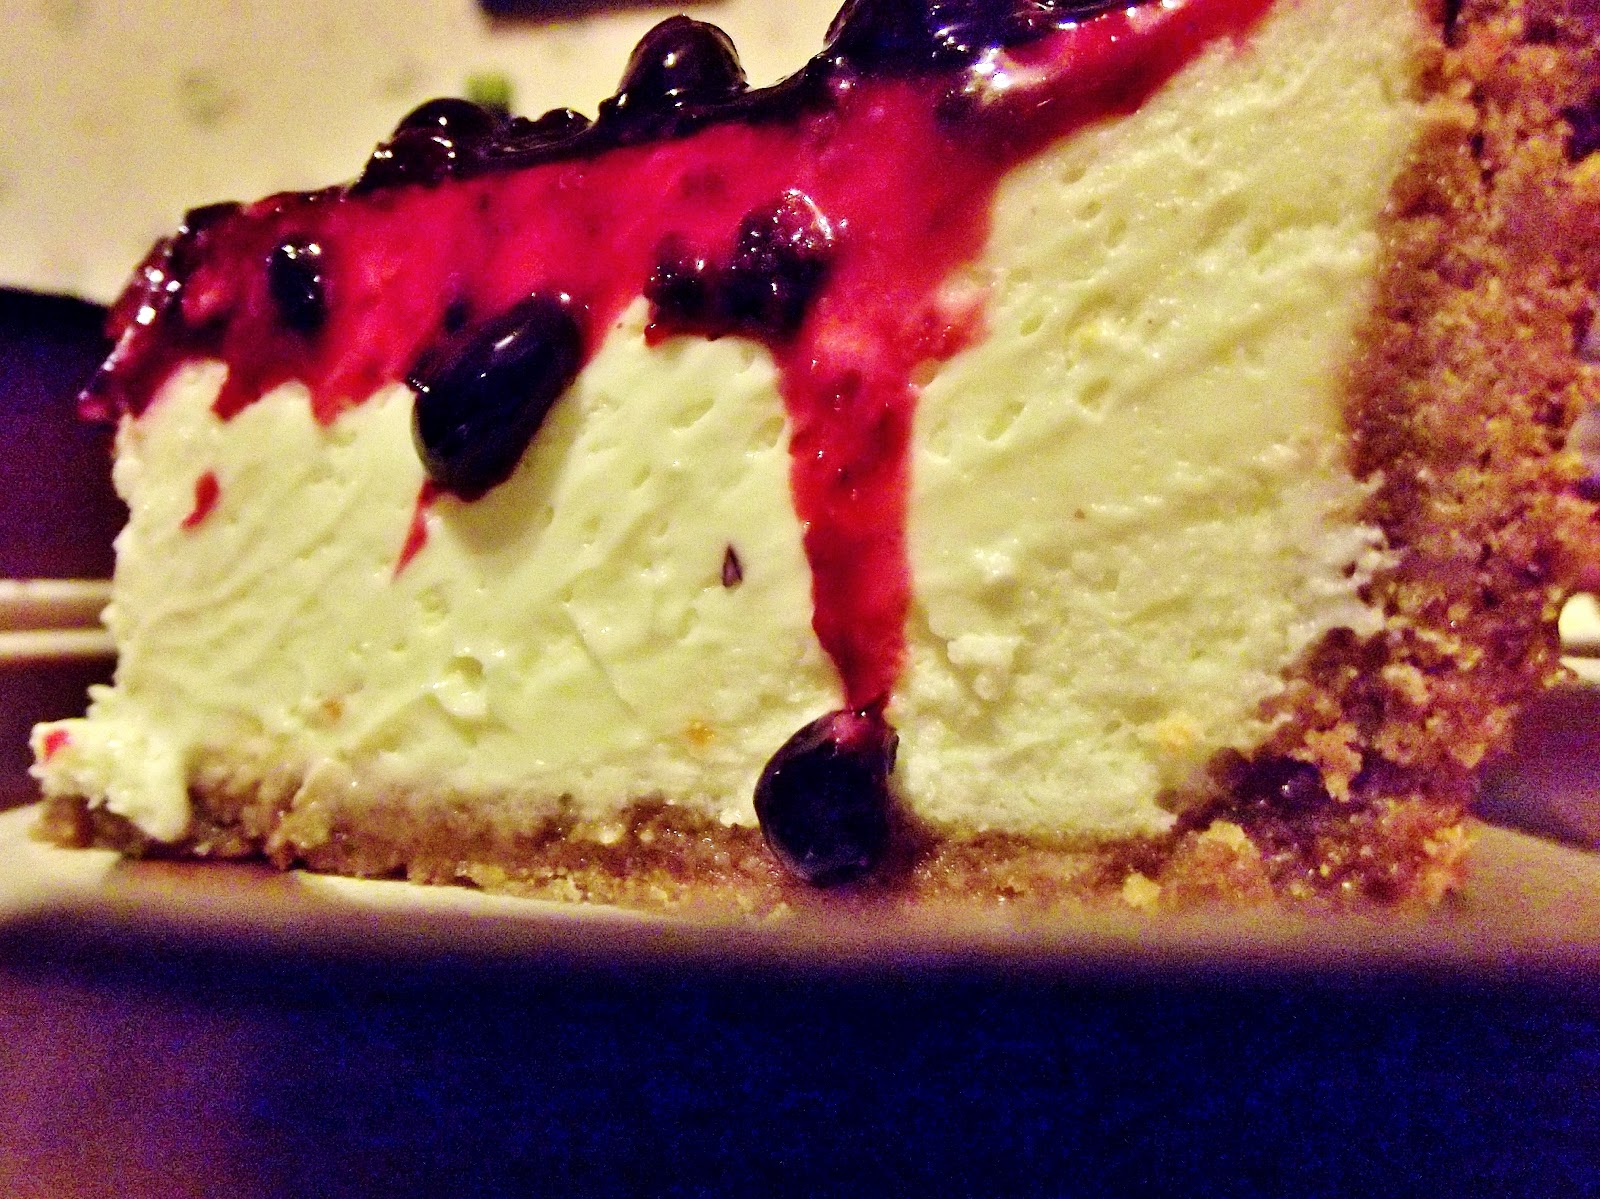
The Best Blackcurrant New York Cheesecake in the Universe


This cheesecake has been a real saga. It's been two months in the pipeline, almost didn't get made for several different reasons, was very nearly a complete disaster - and then ended up being the best thing I've ever made.

Actually, that's complete rubbish. It's the best thing I've ever had a hand in, because my lovely boyfriend did well over half the work (despite repeatedly professing that he 'doesn't really do baking') and without him it would have been a runny pile of burned slop. I would not have had an excuse to make it if it hadn't been for him either - but we both became infatuated with it after I sent him the photo from Smitten Kitchen, over which I was drooling at the time. Despite it being January, and our anniversary being March, it was sort of decided within about a minute that it would be made, albeit with blackcurrants as a topping rather than cherries.


Now, a project like this requires prior planning because we knew the ingredients were going to be expensive. Add in the fact that I didn't have a big enough springform... well, that was solved by valentine's day. My Mum was left with a beseeching request to buy 4 tubs of cream cheese while it was on special offer at Tesco's, seeing as I would have been extremely unpopular (and unwise) if I had left that in our shared uni fridge. On the day the offer ended (about 3 weeks later) I called her up to check she had it, and she hadn't been able to get any (variously out of stock and a broken down car). My boyfriend came to the rescue, completely clearing out the local Tesco Metro's stock of Philidelphia, and we were on our way again.

Also, blackcurrants. It seems that even when they are in season, they're very difficult to get hold of fresh, and in March it was a losing battle. Actually, getting hold of them in any form was more difficult than anticipated, but eventually it transpired that Tesco had recently started doing them in tinned form, so that was that (until we were about to top it and I realised that the drained weight was only a third of the can weight and we were probably definitely going to need another can...)


On the day we were going to make it (and by we I mean three of us as my brother helped too) we all piled into the fairly small kitchen and set about smashing biscuits in three different ways. The potato masher didn't work initially but was helpful later on, I can't remember what was tried next, but the winner was the end of our wooden rolling pin, the star of the show. 

My boyfriend did an absolutely stellar job of getting the biscuit neatly up the side of the tin, and fairly uniform the whole way through! However, rather than the 225g of biscuits stipulated in the recipe, we found we needed the full 300g pack, and even then he said he'd still have liked the bottom to be slightly thicker, so I think next time we'd even consider going for a 400g back! Oh my arteries (shudders at the amount of butter used to hold it all together...)

The mixing of the filling ingredients seemed to go great. The bowl was only just big enough!


But then we hit a bit of a snag when we poured it in to the base. It seemed that the mixer hadn't quite got all the way to the bottom... and there was a huge pile of unmixed cream cheese left in the bowl. Some was hastily ladelled out (we had enough filling left over for a whole 21cm cheesecake! I'll post that one later...) and, while I covered my eyes and peeked out nervously, my boyfriend proceeded to give the mixture another whisk... in the base.

It worked! There were a few splashed over the tops of the biscuit, but it was fine and much better mixed. My hero!


Now onto the cooking. Our oven's dial stops being marked after 240 degrees centigrade, and I needed to be up at 293. I decided to chance the 'mystery temperature' setting, which I assume was somewhere between 260 and 280. The cheesecake never puffed (the smaller, leftover mixture one did, however, a lot) but did top brown quickly, and I caught it but then didn't cool the oven down fast enough, so was terrified I'd burned the lot. Turned out I didn't need to worry, it was all fine. You can see a ring of slightly singed biscuit, but that was actually very tasty and I'd almost try to do that again...

Now, you may notice that we've changed worksurfaces. That was because it was cooked at my house and then assembled at my boyfriend's. His Mum saved us when it came to making the sauce, as the first batch went awry and was basically blackcurrant jelly (moral - stir it as soon as the cornflour gets in the hot mixture). I learned an awful lot about sauce making that I will use in all sorts of recipes now, so it was a really useful experience. I do freeze up in my boyfriend's kitchen, though, and tend to stand around like a bit of a lemon (though more so if his parents are watching), because when I'm cooking, I'm usually a bit unconventional and random, which I don't feel I can be when people might *gasp* judge!

A note about photography - our house is a 200 year old cottage with hardly any natural light, and we did the assembly at night. Hence I didn't have nice light to work with at any time (plus a hungry bunch of people geeing me up) so excuse the photos.


But that is a veritable sea of blackcurrants! Absolutely delicious. It's a berry deep the whole way across and that took two 290g tins (drained weight 115g each). My boyfriend said he'd like to double the thickness of the topping next time. Eep. 

*checks purse*

As delicious as it was, I don't think I can afford to make it again for a while!


The recipe can be found here, at Smitten Kitchen. Our observations are as follows:

1. There was enough filling for this 24cm cheesecake and a thin 20cm one too. 
2. Maybe use slightly more orange zest - the flavour of the filling was lovely, however, even though you couldn't distinctly taste the orange, so maybe that's actually how it's meant to be.
3. Really check all your cream cheese has mixed in properly before pouring it in.
4. Thick toppings are good. 
5. If you want nice thick biscuit base, you're more likely to want 300-400g of biscuits (being Brits, we used Digestive biscuits, not Graham crackers) rather than the 225g in the recipe.


Sunday, 4 March 2012

Scone-athon Part 3: Plain scones


Other Scone-athon posts
Part 1: Hickory Smoked Nuts and Seeds scones
Part 2: Nutella Scones


It was grim and rainy outside, with the odd flurry of snow, and it's nearly the last week of term here. I wanted something simple but yummy to bake to wake me up this weekend. I'm determined to master scones now, and the ingredients are so cheap that I decided I could have a few goes...


The Recipe
This is the same recipe that I used the other day in my Hickory Smoked Nuts Scones, and it's a recipe by Audax Artifax that the Daring Bakers used for their January 2012 challenge. Audax wrote a huge amount on the art of scone baking after some tireless research (16 batches of scones! I'm exhausted after 4!) so I'd really recommend you head over to his site and have a good long read, because you'll learn so much. But, just for ease, I'll post my short and sweet version of it here.

140g plain flour
2 teaspoons (10g) fresh baking powder (I used 3 teaspoons, which is 15g, because mine's been open longer than 2 months)

1/4 teaspoon salt (I had some salted butter to use up so omitted this)
30g butter (preferably frozen and grated, alternatively just out of the fridge and diced)
Approximately 120ml milk


1. Preheat oven to 240 degrees c.
2. Triple sift the dry ingredients from a height.
3. Rub butter into dry until resembled beach sand (see Audax's recipe if you want a different texture).
4. Add nearly all the liquid and stir until a sticky dough is just formed. Add the rest if needed.
5. Turn the dough onto floured board and knead softly 4 or 5 times.
6. Roll/pat out to 2cm thick (definitely no thinner and maybe even slightly thicker!).
7. Use knife to form squares or wedges, or use anything you can find as a circular cutter. I used a drinking glass in the end.  You will have to do the rolling twice if cutting circles because you won't be able to do them all in one go, and the second ones won't rise quite as much because you've worked the dough more.
8. Place on baking tray and flour or glaze the tops if desired.
9. Bake for 10 minutes, checking at 8. They are done when the sides are set.
10. Immediately place on a rack (preferably, I don't have one so plopped them onto a plate) to stop the cooking process.


745 calories per batch


The First Batch


Oh dear, dear, dear. I finally understand why people have always had such trouble with scones.

"Door stops. Hockey pucks."


It browned up nicely and the texture of the top looks nice too. I haven't tried to eat one though. I don't think the problem here was anything with how I worked the dough, though it was too sticky. I think it was more that I just rolled them too thin. Using my 2.6 inch (7cm) scone cutter (which was actually one of those glasses you get when you finish a nutella jar) I got 7.5 scones, I believe, which going by the original recipe's sizes was too many - I should have been aiming for 5, maybe 6 at a push. It was probably closer to 1cm thick than 2cm thick too.


Luckily, because I knew that I probably had some experimenting to do I hadn't just doubled my recipe. Therefore it was time for another go.

The Second Batch


Scone-fection.

I'm making a lot of new scone based words today.

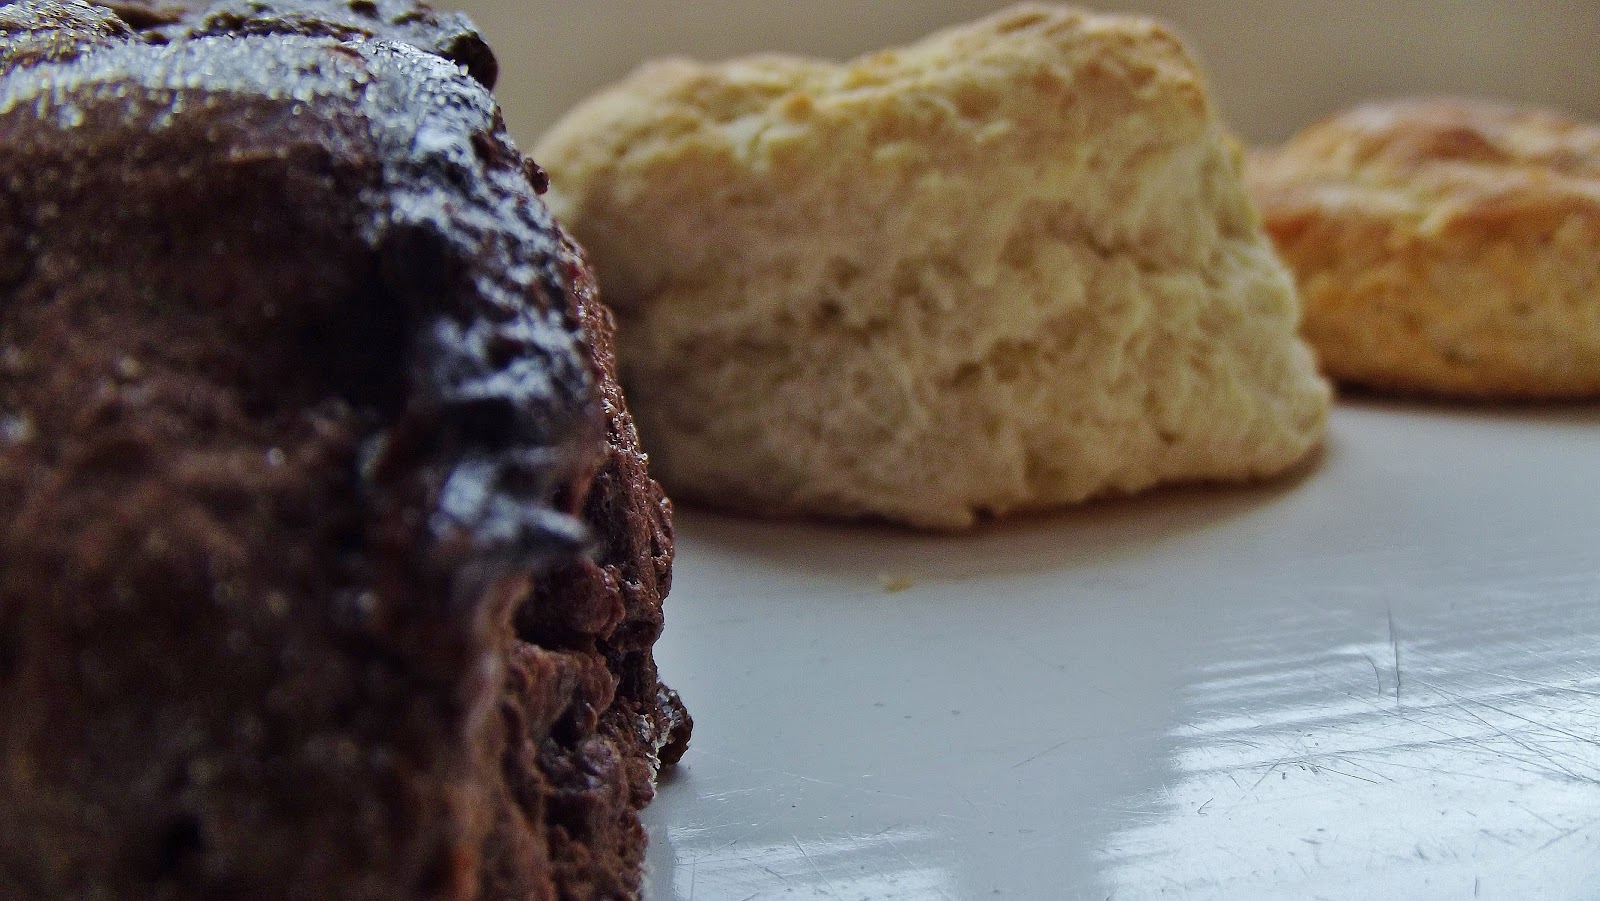
This is how I've always wanted to make scones. I ended up with 4 beautiful, perfectly risen, wonderfully tasty scones. 4. Well, 4 and a half, but the half didn't really meet either the beautiful or perfectly risen criteria. Basically, I think I'll be doubling the recipe in future so I'm looking at 9...

They just looked right; they looked how they look when my Nan makes them. Interestingly, I've since found out that she uses self-raising flour because she finds that baking powder gives them an odd taste, which I don't find, but I'm looking forward to watching her make them over the Easter Holidays. Maybe we'll each have to make a batch of our own scones and see whose wins...


Conclusion


I learned a lot about making scones today, but these seem to be the most important points:

1. Don't overwork the dough
2. Don't roll the scones too thin. 2cm should be your minimum, maybe even slightly thicker. Better to have a few good scones than lots of rubbish ones.

But overall, I'm so happy with the ones that came out well that I'll certainly be making them again!

Scone-athon Part 2: Nutella Scones


Other Scone-athon posts
Part 1: Hickory Smoked Nuts and Seeds scones
Part 3: Plain Scones

There's one really important thing that you should take into account when making nutella scones from a basic scone recipe. Cocoa powder is not very sweet. In fact, it's antisweet. It sucks the sweetness out of your mouth and it always comes as a shock because you're expecting a nice chocolately taste (if you've ever licked your fingers when they've had cocoa powder on then you know what i mean).


So that's why there's a lot of sugar on the top. Don't get me wrong, they still taste really good and I'd make these again at the drop of a hat. But next time I would definitely include a little bit of sugar in the main mix too, because as it stands, you really have to eat them whole.


They rose rather impressively though, possibly the best out of all three batches of scones! The texture was very nice too, and they have a thick swirl of nutella through the middle that is divine, especially when still warm.


Just please don't ask me why this particular one ended up looking like some biscuit-based sci-fi racing pod.

Nutella Scones (Mainly adapted from the Daring Baker's perfect scone recipe by Audax Artifax)
This is mainly an adaptation of Audax's recipe, but it has a mixture of the Nutella scones recipe from Grizzly Kitchen, which is in turn an adaptation from "Baked: Explorations". I should have paid more attention to the fact that that recipe contained sugar whereas Audax's didn't, because mine turned out very bitter (still tasty) from the cocoa powder. Therefore I'm not exactly sure of the sugar amount but I'm going with the amount used in the "Baked" recipe.


115 g plain flour
25g Cocoa powder
Around about 50g Caster Sugar (I didn't add this because I'm an idiot, so I can't be certain of the quantity)
2 teaspoons (10 g) fresh baking powder, or 3 teaspoons (15g) if it's been open longer than 2 months
¼ teaspoon salt
30 g frozen grated butter (or a combination of lard and butter)
120 ml cold milk
Around 75g nutella
Extra caster sugar for sprinkling, or extra nutella for drizzling

  1. Preheat oven to 240 degrees c. 
  2. Triple sift the dry ingredients from a height. 
  3. Rub butter into dry until resembled beach sand (see Audax's recipe if you want a different texture). Stir in the nuts. 
  4. Add nearly all the liquid and stir until a sticky dough is just formed. Add the rest if needed. 
  5. Flatten the dough into a rectangle approximately 6 by 12 inches (approximately – it doesn’t have to be perfect) and spread the Nutella on top in a criss-cross pattern, or just spread it thickly (this is what I did. I also eyeballed the amount rather than weighed it - basically, you just want a nice thick spread.)
  6. Roll the dough up to make a cylinder about 6 inches long, turn it on its end, and gently flatten it into a rectangle about 3cm high. Do not overwork the dough. 
  7. Cut the dough into wedges (I got 6) and place them on the prepared baking sheet. 
  8. Place on baking tray and bake for 10 minutes, checking at 8. They are done when the sides are set. 
  9. Immediately place on rack to stop cooking process.

Friday, 2 March 2012

Tomato and Egg Toast - the student version

My lunches tend to be fairly boring - porridge, actually. I can live on the stuff because I think it's delicious beyond belief, very warming, and fills you up far more than it should for the calories. But even I recognise that you can have too much of a good thing, and I had a loaf of bread to use up and a pasta sauce tub waving at me from the fridge. Erp.  You know us students, we live on pasta (supposedly)... I actually only had it this week because Tesco had a really nice sauce and some posh Cappellini on offer. I'd say using a nice simple tomato and basil sauce like I did, not one of the creamy cheesy ones, works better, but I can't vouch for this so just experiment with your leftovers. Alternatively, making your own sauce really isn't that difficult!


Anyway, there are far more complicated versions of this recipe around, but I'd call this the student version. The toast becomes soaked in the sauce and the egg is a really nice contrast in flavour and texture. Every time I have some pasta on the menu, this is now definitely going to be lunch the next day. I think I might even have to start having pasta more often...

Some more complicated versions can be found here, at "Smitten Kitchen", and here, at "A Pastry Affair". They both springboarded off the same recipe, then I springboarded off theirs. One of the main differences is that they both poached the eggs - I fried mine in Fry Light, so not too unhealthy, but mainly because poaching isn't something I've yet tried. The other variation is that they made their sauce... I was using leftovers.

Another nice variation - or perhaps the original! - is Shakshuka, which is definitely on the cards sometime.

Please excuse the truly terrible photo, I had enough battery left to turn the camera on and immediately take the photo wherever it happened to be pointing... I never knew eggs were so reflective!


Tomato and Egg Toast for pasta-guzzling students

Leftover pasta sauce (around about 125g, or enough to generously drizzle over 2 pieces of toast)
1 egg
2 slices bread

1. Fry an egg.
2. Warm up your pasta sauce in the microwave or on the hob.
3. Cook and lightly butter the toast.
4. Pour the pasta sauce over the toast.
5. Flop the egg on the top.
If you need more instructions than that (in fact, if you needed the instructions at all), just get thee to a kitchen...