Showing posts with label scone. Show all posts

Sunday, 4 March 2012

Scone-athon Part 3: Plain scones


Other Scone-athon posts
Part 1: Hickory Smoked Nuts and Seeds scones
Part 2: Nutella Scones


It was grim and rainy outside, with the odd flurry of snow, and it's nearly the last week of term here. I wanted something simple but yummy to bake to wake me up this weekend. I'm determined to master scones now, and the ingredients are so cheap that I decided I could have a few goes...


The Recipe
This is the same recipe that I used the other day in my Hickory Smoked Nuts Scones, and it's a recipe by Audax Artifax that the Daring Bakers used for their January 2012 challenge. Audax wrote a huge amount on the art of scone baking after some tireless research (16 batches of scones! I'm exhausted after 4!) so I'd really recommend you head over to his site and have a good long read, because you'll learn so much. But, just for ease, I'll post my short and sweet version of it here.

140g plain flour
2 teaspoons (10g) fresh baking powder (I used 3 teaspoons, which is 15g, because mine's been open longer than 2 months)

1/4 teaspoon salt (I had some salted butter to use up so omitted this)
30g butter (preferably frozen and grated, alternatively just out of the fridge and diced)
Approximately 120ml milk


1. Preheat oven to 240 degrees c.
2. Triple sift the dry ingredients from a height.
3. Rub butter into dry until resembled beach sand (see Audax's recipe if you want a different texture).
4. Add nearly all the liquid and stir until a sticky dough is just formed. Add the rest if needed.
5. Turn the dough onto floured board and knead softly 4 or 5 times.
6. Roll/pat out to 2cm thick (definitely no thinner and maybe even slightly thicker!).
7. Use knife to form squares or wedges, or use anything you can find as a circular cutter. I used a drinking glass in the end.  You will have to do the rolling twice if cutting circles because you won't be able to do them all in one go, and the second ones won't rise quite as much because you've worked the dough more.
8. Place on baking tray and flour or glaze the tops if desired.
9. Bake for 10 minutes, checking at 8. They are done when the sides are set.
10. Immediately place on a rack (preferably, I don't have one so plopped them onto a plate) to stop the cooking process.


745 calories per batch


The First Batch


Oh dear, dear, dear. I finally understand why people have always had such trouble with scones.

"Door stops. Hockey pucks."


It browned up nicely and the texture of the top looks nice too. I haven't tried to eat one though. I don't think the problem here was anything with how I worked the dough, though it was too sticky. I think it was more that I just rolled them too thin. Using my 2.6 inch (7cm) scone cutter (which was actually one of those glasses you get when you finish a nutella jar) I got 7.5 scones, I believe, which going by the original recipe's sizes was too many - I should have been aiming for 5, maybe 6 at a push. It was probably closer to 1cm thick than 2cm thick too.


Luckily, because I knew that I probably had some experimenting to do I hadn't just doubled my recipe. Therefore it was time for another go.

The Second Batch


Scone-fection.

I'm making a lot of new scone based words today.

This is how I've always wanted to make scones. I ended up with 4 beautiful, perfectly risen, wonderfully tasty scones. 4. Well, 4 and a half, but the half didn't really meet either the beautiful or perfectly risen criteria. Basically, I think I'll be doubling the recipe in future so I'm looking at 9...

They just looked right; they looked how they look when my Nan makes them. Interestingly, I've since found out that she uses self-raising flour because she finds that baking powder gives them an odd taste, which I don't find, but I'm looking forward to watching her make them over the Easter Holidays. Maybe we'll each have to make a batch of our own scones and see whose wins...


Conclusion


I learned a lot about making scones today, but these seem to be the most important points:

1. Don't overwork the dough
2. Don't roll the scones too thin. 2cm should be your minimum, maybe even slightly thicker. Better to have a few good scones than lots of rubbish ones.

But overall, I'm so happy with the ones that came out well that I'll certainly be making them again!

Scone-athon Part 2: Nutella Scones


Other Scone-athon posts
Part 1: Hickory Smoked Nuts and Seeds scones
Part 3: Plain Scones

There's one really important thing that you should take into account when making nutella scones from a basic scone recipe. Cocoa powder is not very sweet. In fact, it's antisweet. It sucks the sweetness out of your mouth and it always comes as a shock because you're expecting a nice chocolately taste (if you've ever licked your fingers when they've had cocoa powder on then you know what i mean).


So that's why there's a lot of sugar on the top. Don't get me wrong, they still taste really good and I'd make these again at the drop of a hat. But next time I would definitely include a little bit of sugar in the main mix too, because as it stands, you really have to eat them whole.


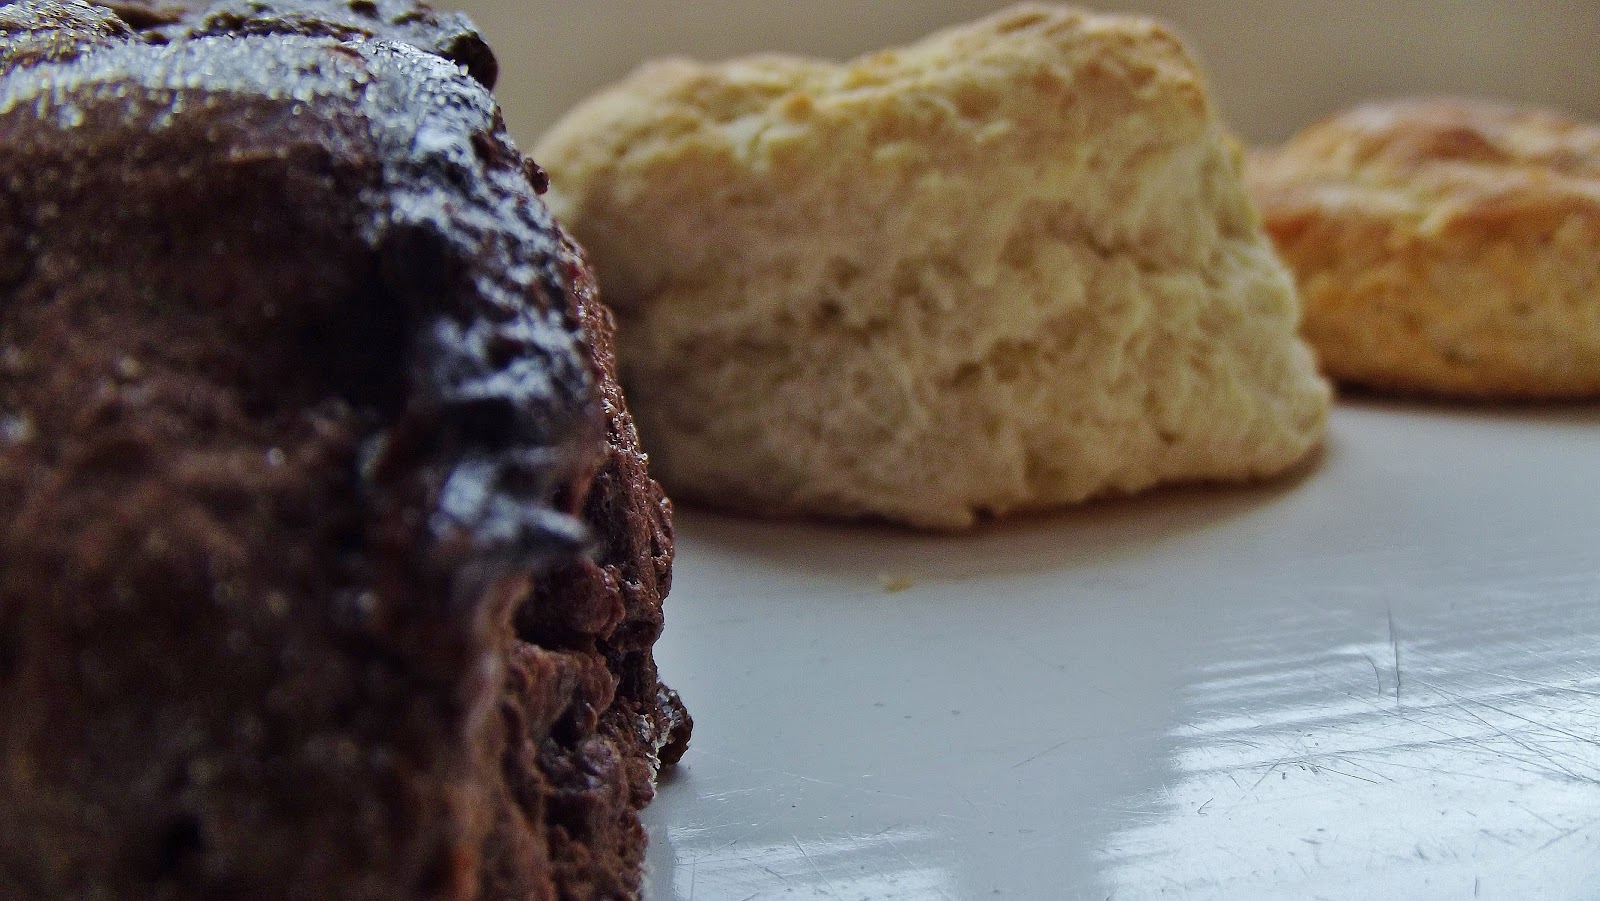
They rose rather impressively though, possibly the best out of all three batches of scones! The texture was very nice too, and they have a thick swirl of nutella through the middle that is divine, especially when still warm.


Just please don't ask me why this particular one ended up looking like some biscuit-based sci-fi racing pod.

Nutella Scones (Mainly adapted from the Daring Baker's perfect scone recipe by Audax Artifax)
This is mainly an adaptation of Audax's recipe, but it has a mixture of the Nutella scones recipe from Grizzly Kitchen, which is in turn an adaptation from "Baked: Explorations". I should have paid more attention to the fact that that recipe contained sugar whereas Audax's didn't, because mine turned out very bitter (still tasty) from the cocoa powder. Therefore I'm not exactly sure of the sugar amount but I'm going with the amount used in the "Baked" recipe.


115 g plain flour
25g Cocoa powder
Around about 50g Caster Sugar (I didn't add this because I'm an idiot, so I can't be certain of the quantity)
2 teaspoons (10 g) fresh baking powder, or 3 teaspoons (15g) if it's been open longer than 2 months
¼ teaspoon salt
30 g frozen grated butter (or a combination of lard and butter)
120 ml cold milk
Around 75g nutella
Extra caster sugar for sprinkling, or extra nutella for drizzling

  1. Preheat oven to 240 degrees c. 
  2. Triple sift the dry ingredients from a height. 
  3. Rub butter into dry until resembled beach sand (see Audax's recipe if you want a different texture). Stir in the nuts. 
  4. Add nearly all the liquid and stir until a sticky dough is just formed. Add the rest if needed. 
  5. Flatten the dough into a rectangle approximately 6 by 12 inches (approximately – it doesn’t have to be perfect) and spread the Nutella on top in a criss-cross pattern, or just spread it thickly (this is what I did. I also eyeballed the amount rather than weighed it - basically, you just want a nice thick spread.)
  6. Roll the dough up to make a cylinder about 6 inches long, turn it on its end, and gently flatten it into a rectangle about 3cm high. Do not overwork the dough. 
  7. Cut the dough into wedges (I got 6) and place them on the prepared baking sheet. 
  8. Place on baking tray and bake for 10 minutes, checking at 8. They are done when the sides are set. 
  9. Immediately place on rack to stop cooking process.

Wednesday, 29 February 2012

Scone-athon Part 1: Hickory Smoked Nuts & Seeds Scones


Other Scone-athon posts
Part 2: Nutella Scones
Part 3: Plain Scones

It's quite rare at the moment that I bake just for me. In fact, I don't think I've baked just for me in my life (I don't count pancakes, they're cooking, not baking). So today, when my free Graze box turned up (a full review of this to follow once I've eaten the other bits) and I discovered they'd sent me Hickory smoked nuts and seeds, something I wasn't that enamoured with on its own, I decided to make it better by baking it into something on a small scale. This was MY free graze box and I was going to eat it all myself.

A savoury quick bread? Hmm, the pot seemed a bit small. Then I realised, after the success of cinnamon toast earlier this week, that my breakfast routine did still need some shaking up. I wanted scones.


I'm going to let you in on a secret. I've joined the daring bakers. I couldn't do last months because I signed up too late but I get my first challenge tomorrow (which my boyfriend and family know all too well because I've been reminding them every day for the past week. I don't think I'll be able to sleep tonight... I'm more excited about this than I was about xmas). But while waiting, I've been going through the past challenges and I came across Audax from Audax Artifax's extremely exhaustive scone recipe. This is a treatise on how to make PERFECT scones. Cheaply. And the recipe could easily be halved. Thank you very much, Audax!

So I made 3 scones, and, like Audax promised, they were great. I can't wait to try this recipe as standard jam and cream scones, and I think that it could even be put to use for cricket teas instead of buying the Tesco value ones in bulk - I think it would work out ALMOST cheaper and taste infinitely better. I calculated that this cost me approximately 30p to make 3 scones. Let me repeat that. THIRTY. PENCE. 10p a scone. And that was using real butter (we'd probably cheat and use the hard stork for cricket scones) and we'd buy flour in bulk, which I didn't, I can only buy 500g bags because that's all our Tesco's sells and its all I can manage to cart the mile I walk home (carrying a 5 litre bottle of water one day, plus all my other shopping, was not fun). After scaling it up to 64 scones, using good quality flour and butter, I worked out it would cost 6 point 3 pence a scone. That really isn't bad at all... but sadly Tesco value manage to undercut us at 4 and a half pence per scone. Really, though, is there any comparison?


Anyway, I had decided to make the scones. Now, I've finally proved that I have food on the brain far too much. Midway through my IM conversation with my boyfriend, I proceeded to reel off NINE foodie puns. All entirely based on the scone recipe I'd just written out. Though in fairness he started it.


Me: right, lecture written up.... it's scone time
Boyfriend: so you will soon be... scone?
Me: yes, but not scone for good
Boyfriend: but you'll be scone for a good raisin
Me: and i'll be breadcrumbin' back
Me: i shall return sift-ly
Boyfriend: oh dear
Me: i butter not take long....
Me: yours was better
Me: I knead to practice my puns
Me: they're a bit half-baked
Boyfriend: damnit
Boyfriend: just thought that
Me: i should stop milking it.....
Boyfriend: ugh
Me: i bet your eyes are starting to glaze over
Me: ...... dough.
Me: anyway, i'm going to go before the pun god smites me


All in all, this took me about 10 minutes to make, and I washed up while they cooked. Mine didn't rise quite as much as Audax's, but I'm going to have so much fun practising that I really don't care this time round ;) They're certainly not super dense, and really I rolled it out a bit thinner than I should have (well, patted, I'm a student, I don't have a rolling pin), sooo... it was to be expected. I think I also kneaded them very slightly too much, so will cut back on that next time. Finally, Audax recommends frozen grated butter. This would be fine, apart from my lack of 2 important things. 1) A grater. 2) A freezer. So I just used the hard butter straight out of the fridge and diced it.

Mine cooked in 8 minutes flat, and smelled gorgeous. Then, in the interests of having one to photograph, I supposed I ought to break one open, butter half of it, and  photograph it. The only problem was that I got distracted and buttered both halves (though it was the smallest of the three). Obviously I couldn't then waste the buttered half. My camera had a Lazarus moment and lasted long enough for me to get some shots, and it's sunnier here today so I could use the natural light better. 


With butter on, delicious. I think it's going to be bloody awesome with some Nutella on for breakfast tomorrow! (Update: it was. It certainly was. *drools*)

In closing, I decided to try some of the nuts while they were being chopped up to pop in... and then realised that Graze knew me better than I knew myself because they were actually really nice. Whoops. Good call, guys... still, they work well in scones too.

Audax's Awesome Scone recipe, with nuts and seeds

You can find the original HERE, for those who aren't daring bakers (it's also available in the private forum). Here I've provide my scaled down recipe with a shortened method. I would highly recommend reading Audax's, though, as he put a huge amount of effort into getting perfect scones and I learned so much from reading it.

Makes 2-3 wedges or 4 round scones.

70g plain flour
1 teaspoon baking powder
1/8 teaspoon salt
15g butter (preferably frozen and grated, alternatively just out of the fridge and diced)
60ml milk
1/2 tbsp milk to glaze, or flour to dust
~35g Mixed nuts and seeds (I used Hickory smoked cashews, almonds, sunflower seeds and pumpkin seeds from a Graze box)


1. Preheat oven to 240 degrees c.
2. Triple sift the dry ingredients from a height.
3. Rub butter into dry until resembled beach sand (see Audax's recipe if you want a different texture). Stir in the nuts.
4. Add nearly all the liquid and stir until a sticky dough is just formed. Add the rest if needed.
5. Turn the dough onto floured board and knead softly 4 or 5 times.
6. Roll/pat out to 2cm thick. Will have to do this twice if doing circles.
7. Use knife to form squares or wedges (you could use a cutter to form 4 scones. I don't own cutters. Again, student.)
8. Place on baking tray and flour or glaze the tops.
9. Bake for 10 minutes, checking at 8. They are done when the sides are set.
10. Immediately place on rack to stop cooking process.