I have a confession to make. I used to be a vegetarian.
For a whole 2 and a half years of my life, in fact. Now, I love all sorts of meat, things I would never have tried before, and yes, I do tend to feel slightly bad about that fact.
But the great thing about being a vegetarian was that it taught me that not every dish has to have meat in it. These portobello and halloumi burgers are my favourite example of this. I first came across them in Nando's, which is a chicken centric restaurant. Chicken is its USP... and yet they provided some of the best vegetarian options of any restaurant I have come across. Well, actually, I only ever tried this one because once I'd tried it once I started finding excuses to go to Nando's more often than I ever did as an omnivore. It seemed a shame to try anything else, knowing how much I liked this (I try not to do this in restaurants, but this is an exception. It is THAT good).
Um, anyway. I finally got around to recreating it at home for my Mum, for Mother's day, as she is still a vegetarian. The 'boys' got standard, boring old Aberdeen Angus beefburgers (funny how I'd never even heard of it a few years ago, now it seems incredibly common...) and Mum and I wolfed down portobello and halloumi burgers that were easily as good as the ones from Nando's (just goes to show that there are some recipes that don't need fancy prep, the ingredients just work so well they practically cook themselves), aided by my first ever home-made bread rolls and tomato salsa, plus potato wedges and sugar snap peas.
I was pretty chuffed, actually. It was all ready at the same time, it was all cooked through, and every scrap got eaten, despite the fact people had been sneaking fudge all afternoon. That's a success, in my books.
Portobello Mushroom and Halloumi Burger
I used the cooking technique from this recipe on FoodFrom4, but kept the garnish to cool tomato salsa, which was nice and simple and let the mushroom and halloumi combination really shine. I know some people take this 'burger' to a whole new level and dispense with the bread entirely, replacing it with the mushrooms! Personally, I prefer it with the bread, because I think the textures are a nice contrast to each other and the texture and feel you get is much like that of a meat burger, though I understand that not all vegetarians want this (I was an ethical vegetarian, not a taste/texture/ethical/health one like my Mum).
1 bread roll
1 large portobello mushroom
~30g halloumi
Tomato Salsa
Salt and pepper
1. Heat the oven to 200C (fan).
2. Peel the mushrooms and de-stalk.
3. Place on a baking tray, drizzle (liberally) with olive oil, then season with salt and pepper.
4. Place in oven for about 15-20 minutes - closer to the latter, in my case. My brother was very concerned that they appeared very black when they came out but I pointed out that a) that was how they were meant to be and b) he wasn't eating them anyway. They tasted great, so I stand by my argument.
5. Brush the halloumi slice with olive oil and grill on each side. The original recipe says until browned but I didn't leave it that long, just until it was developing a sort of hardish crust and threatening to fall through the grill bars...
Showing posts with label cheese. Show all posts
Sunday, 18 March 2012
Wednesday, 14 March 2012
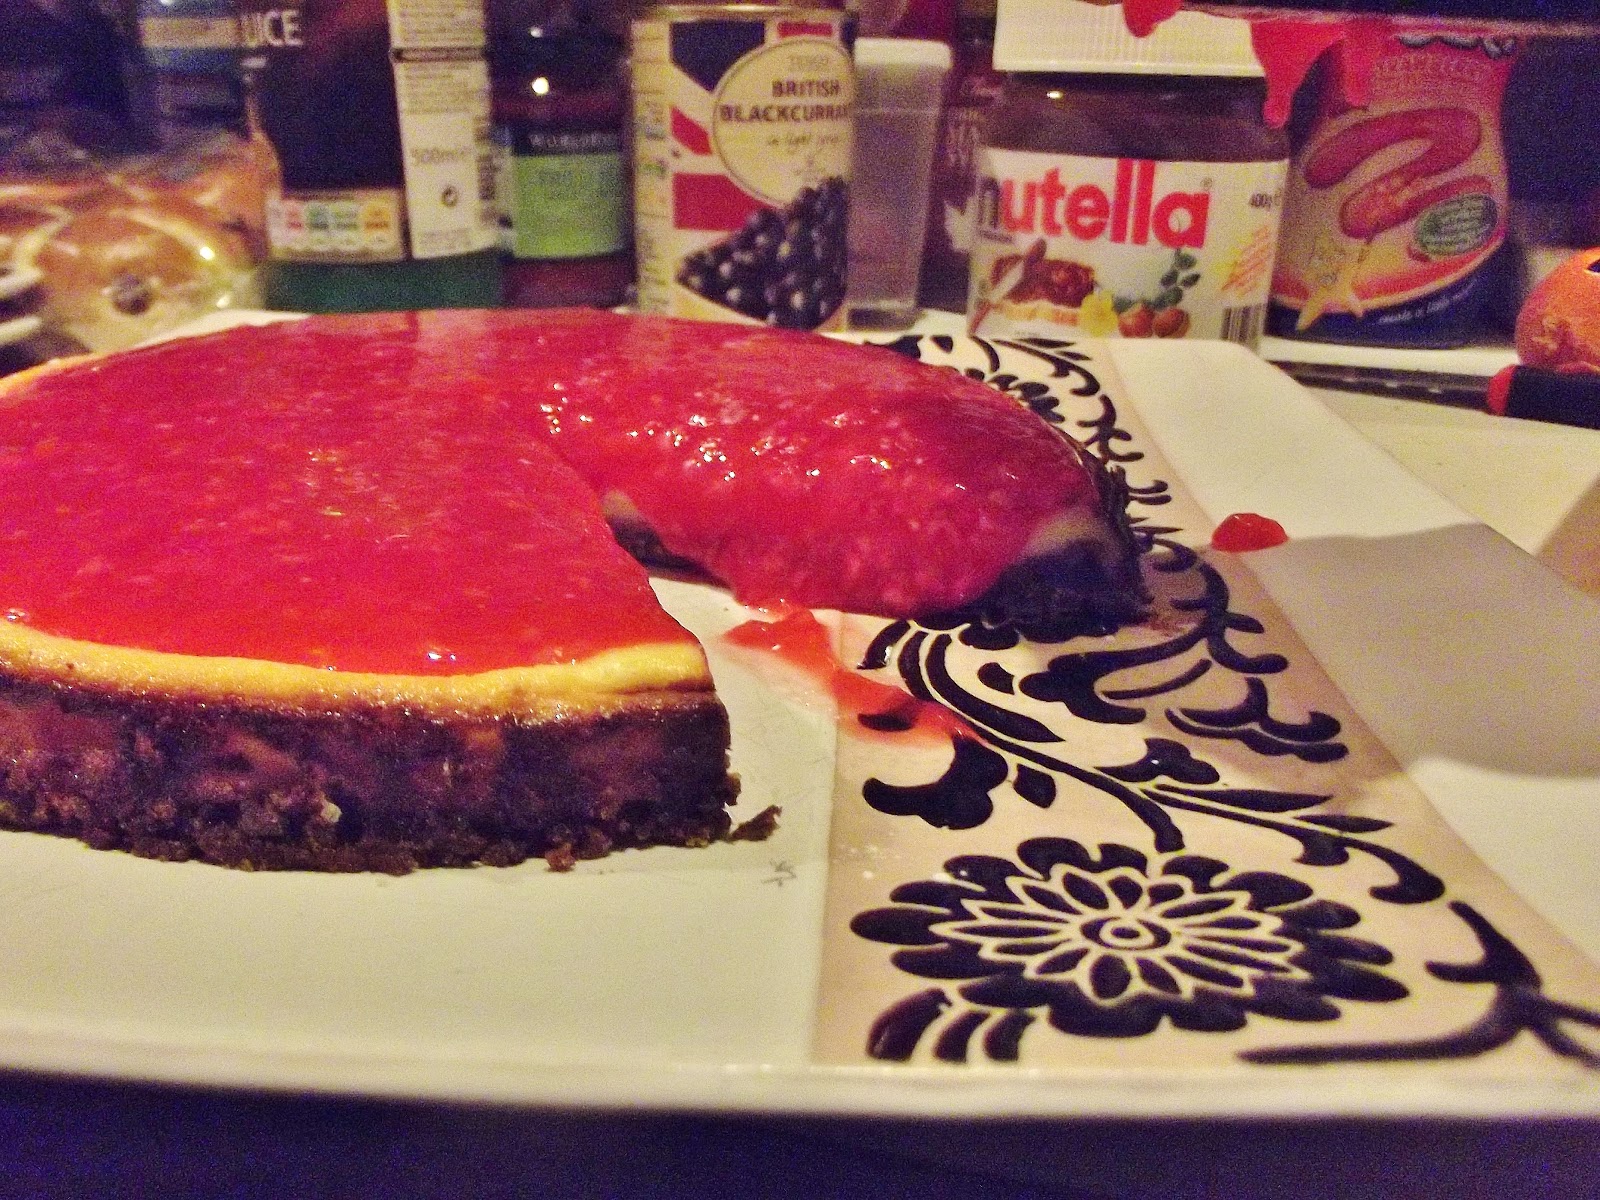
The "What do you do with a Pack of Soft, Ancient Ginger Nuts and a Glut of Filling for Cheesecake?" Cheesecake
I think you do this with it.
MINI CHEESECAKE!
Well, actually it's not that mini, it was a perfectly acceptable size for any shop bought cheesecake, tasted infinitely better than one, and improved with age (according to my parents and brother who got left with it while me and my boyfriend gallavanted off with the full-sized cheesecake... don't worry, they're getting some of that tonight!)
It even had real, fresh fruit on top. So fresh that there was still a live insect in it. He's now living happily in our garden.
Quite bizzarely, this one actually rose an awful lot better than the main one, and as I'd learned to watch for the top-browning, seemed to cook better too, being rather more solid when it came out (though eventually, despite initially panicking that I'd taken the main event out too early and it would be too wobbly, it firmed up and the texture was almost the most complimented thing).
It did brown around the edges a lot more than we were expecting though...
So we took a bite each to check it tasted fine. It did. We covered our tracks with dayglo raspberry gloop.
Much cheesecake was eaten by all this weekend.
MINI CHEESECAKE!
Well, actually it's not that mini, it was a perfectly acceptable size for any shop bought cheesecake, tasted infinitely better than one, and improved with age (according to my parents and brother who got left with it while me and my boyfriend gallavanted off with the full-sized cheesecake... don't worry, they're getting some of that tonight!)
It even had real, fresh fruit on top. So fresh that there was still a live insect in it. He's now living happily in our garden.
Quite bizzarely, this one actually rose an awful lot better than the main one, and as I'd learned to watch for the top-browning, seemed to cook better too, being rather more solid when it came out (though eventually, despite initially panicking that I'd taken the main event out too early and it would be too wobbly, it firmed up and the texture was almost the most complimented thing).
It did brown around the edges a lot more than we were expecting though...
So we took a bite each to check it tasted fine. It did. We covered our tracks with dayglo raspberry gloop.
The recipe is the same one used here, which originally comes from Smitten Kitchen... and the lesson I learned is that if the topping (or, in this case, a sort of sauce) recipe you are following is for cherries, think carefully about the kind of fruit you are substituting. Raspberries have a rather different... er... skin. And a tendency to completely dissolve when any heat is applied.
But it tasted good.
Much cheesecake was eaten by all this weekend.
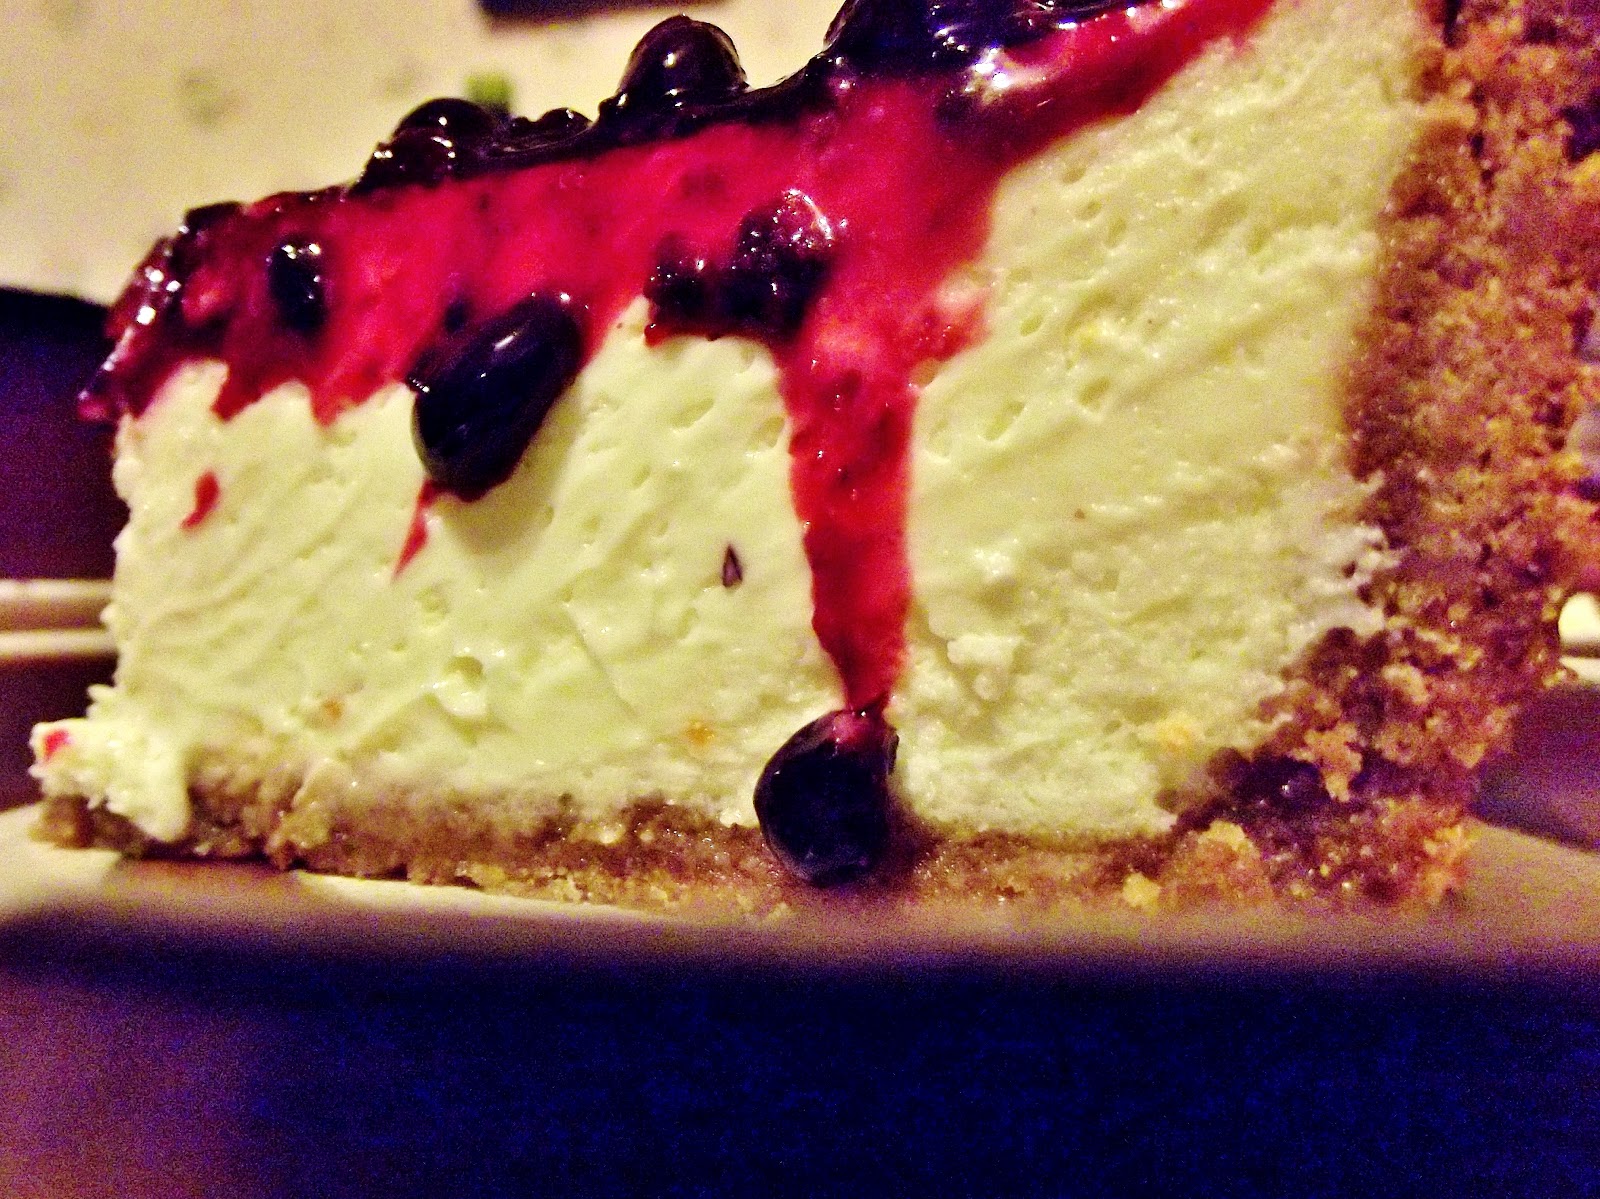
The Best Blackcurrant New York Cheesecake in the Universe
Actually, that's complete rubbish. It's the best thing I've ever had a hand in, because my lovely boyfriend did well over half the work (despite repeatedly professing that he 'doesn't really do baking') and without him it would have been a runny pile of burned slop. I would not have had an excuse to make it if it hadn't been for him either - but we both became infatuated with it after I sent him the photo from Smitten Kitchen, over which I was drooling at the time. Despite it being January, and our anniversary being March, it was sort of decided within about a minute that it would be made, albeit with blackcurrants as a topping rather than cherries.
Now, a project like this requires prior planning because we knew the ingredients were going to be expensive. Add in the fact that I didn't have a big enough springform... well, that was solved by valentine's day. My Mum was left with a beseeching request to buy 4 tubs of cream cheese while it was on special offer at Tesco's, seeing as I would have been extremely unpopular (and unwise) if I had left that in our shared uni fridge. On the day the offer ended (about 3 weeks later) I called her up to check she had it, and she hadn't been able to get any (variously out of stock and a broken down car). My boyfriend came to the rescue, completely clearing out the local Tesco Metro's stock of Philidelphia, and we were on our way again.
Also, blackcurrants. It seems that even when they are in season, they're very difficult to get hold of fresh, and in March it was a losing battle. Actually, getting hold of them in any form was more difficult than anticipated, but eventually it transpired that Tesco had recently started doing them in tinned form, so that was that (until we were about to top it and I realised that the drained weight was only a third of the can weight and we were probably definitely going to need another can...)
On the day we were going to make it (and by we I mean three of us as my brother helped too) we all piled into the fairly small kitchen and set about smashing biscuits in three different ways. The potato masher didn't work initially but was helpful later on, I can't remember what was tried next, but the winner was the end of our wooden rolling pin, the star of the show.
My boyfriend did an absolutely stellar job of getting the biscuit neatly up the side of the tin, and fairly uniform the whole way through! However, rather than the 225g of biscuits stipulated in the recipe, we found we needed the full 300g pack, and even then he said he'd still have liked the bottom to be slightly thicker, so I think next time we'd even consider going for a 400g back! Oh my arteries (shudders at the amount of butter used to hold it all together...)
The mixing of the filling ingredients seemed to go great. The bowl was only just big enough!
But then we hit a bit of a snag when we poured it in to the base. It seemed that the mixer hadn't quite got all the way to the bottom... and there was a huge pile of unmixed cream cheese left in the bowl. Some was hastily ladelled out (we had enough filling left over for a whole 21cm cheesecake! I'll post that one later...) and, while I covered my eyes and peeked out nervously, my boyfriend proceeded to give the mixture another whisk... in the base.
It worked! There were a few splashed over the tops of the biscuit, but it was fine and much better mixed. My hero!
Now onto the cooking. Our oven's dial stops being marked after 240 degrees centigrade, and I needed to be up at 293. I decided to chance the 'mystery temperature' setting, which I assume was somewhere between 260 and 280. The cheesecake never puffed (the smaller, leftover mixture one did, however, a lot) but did top brown quickly, and I caught it but then didn't cool the oven down fast enough, so was terrified I'd burned the lot. Turned out I didn't need to worry, it was all fine. You can see a ring of slightly singed biscuit, but that was actually very tasty and I'd almost try to do that again...
Now, you may notice that we've changed worksurfaces. That was because it was cooked at my house and then assembled at my boyfriend's. His Mum saved us when it came to making the sauce, as the first batch went awry and was basically blackcurrant jelly (moral - stir it as soon as the cornflour gets in the hot mixture). I learned an awful lot about sauce making that I will use in all sorts of recipes now, so it was a really useful experience. I do freeze up in my boyfriend's kitchen, though, and tend to stand around like a bit of a lemon (though more so if his parents are watching), because when I'm cooking, I'm usually a bit unconventional and random, which I don't feel I can be when people might *gasp* judge!
A note about photography - our house is a 200 year old cottage with hardly any natural light, and we did the assembly at night. Hence I didn't have nice light to work with at any time (plus a hungry bunch of people geeing me up) so excuse the photos.
But that is a veritable sea of blackcurrants! Absolutely delicious. It's a berry deep the whole way across and that took two 290g tins (drained weight 115g each). My boyfriend said he'd like to double the thickness of the topping next time. Eep.
*checks purse*
As delicious as it was, I don't think I can afford to make it again for a while!
The recipe can be found here, at Smitten Kitchen. Our observations are as follows:
1. There was enough filling for this 24cm cheesecake and a thin 20cm one too.
2. Maybe use slightly more orange zest - the flavour of the filling was lovely, however, even though you couldn't distinctly taste the orange, so maybe that's actually how it's meant to be.
3. Really check all your cream cheese has mixed in properly before pouring it in.
4. Thick toppings are good.
5. If you want nice thick biscuit base, you're more likely to want 300-400g of biscuits (being Brits, we used Digestive biscuits, not Graham crackers) rather than the 225g in the recipe.
Saturday, 28 January 2012
Waist-friendly Spinach and Ham Macaroni Cheese
One of my favourite meals last term was Heinz macaroni cheese. It wasn't that high in calories, it was creamy, warm and quick.
This isn't quite so quick. But it is still a good student dinner, because you can make this much and reheat it the next day, and I always have ham left over from during the week because I can't make enough blooming sandwiches. Also, it's delicious, beyond my wildest dreams (I dream about food and spend a lot of time thinking about it, planning meals, planning food shopping, reading food blogs, reading cookbooks...), though my food-dar probably isn't set that high :P But om nom nom nom nom.
I had to adapt this one quite heavily from the original because that would have been over 1000 calories a serving! Obviously you can use normal cheese instead (I opted for low fat) and the recommended serving of macaroni (elbow pasta) is 75g, not the 50g I opted for, but it's such a rich dish, with so many other bits in, that the quantities here were plenty for me. It would be lovely with some crusty bread if you did want to bulk it up a bit.
Furthermore, the original recipe did call for more cheese (though cheese was what i scaled the other ingredients too), so if you fancy it a bit cheesier, be my guest. The 40g of cheese I had on the top didn't look like much before I melted it, but it was plenty.
This macaroni cheese won't take all your daily calories in one go (adapted from "The ultimate student cookbook")
100g macaroni
20g butter
1 half onion
1 garlic clove
20g flour
220ml milk
130g low fat cheese
Seasoning
A few slices of ham
About 100g Spinach
Serves 2.
600 calories per serving.
Suitable for reheating.
1. Start the macaroni boiling in a pot of salted water for as long as it says on your packet (~5 minutes). Preheat the grill to medium/hot, or you can do this a bit later, you won't need it until the end.
2. Soften the chopped onion and garlic in a pan with the butter for about 5-6 minutes. Then add the spinach and cook until wilted.
3. Add the flour and mix.
4. Gradually add the milk, stirring constantly. If it goes lumpy, just keep mixing.
5. Bring the sauce to the boil. (Have you been keeping an eye on your macaroni bubbling away?)
6. Add 90g of cheese and turn the temperature back down slightly, stirring until it melts.
7. Season with salt and plenty of pepper (I'm not usually a huge fan of pepper but this works well when peppery). Pop in the chopped ham.
8. Drain the pasta and return to the pan. Pour in the sauce and mix it all together well.
9. Sprinkle over the remaining cheese and pop it under the grill for 5 minutes or so, until golden.
Subscribe to:
Posts (Atom)